

(Or Pon-Pom or Pom-Pon or Pon-Pon, or whatever you call them.)
 I mentioned earlier this week that I love making hats. One of my favorite hat embellishments is the pom-pom on top. They’re extremely easy to make, but not if you use the traditional method. You were probably taught in grade school to wrap a bunch of yarn around a piece of cardboard and then tie it in the middle and cut the loops. And you probably ended up with what looked like a bundle of short pieces of yarn that was not at all spherical or pom-pom-y looking. Am I right?
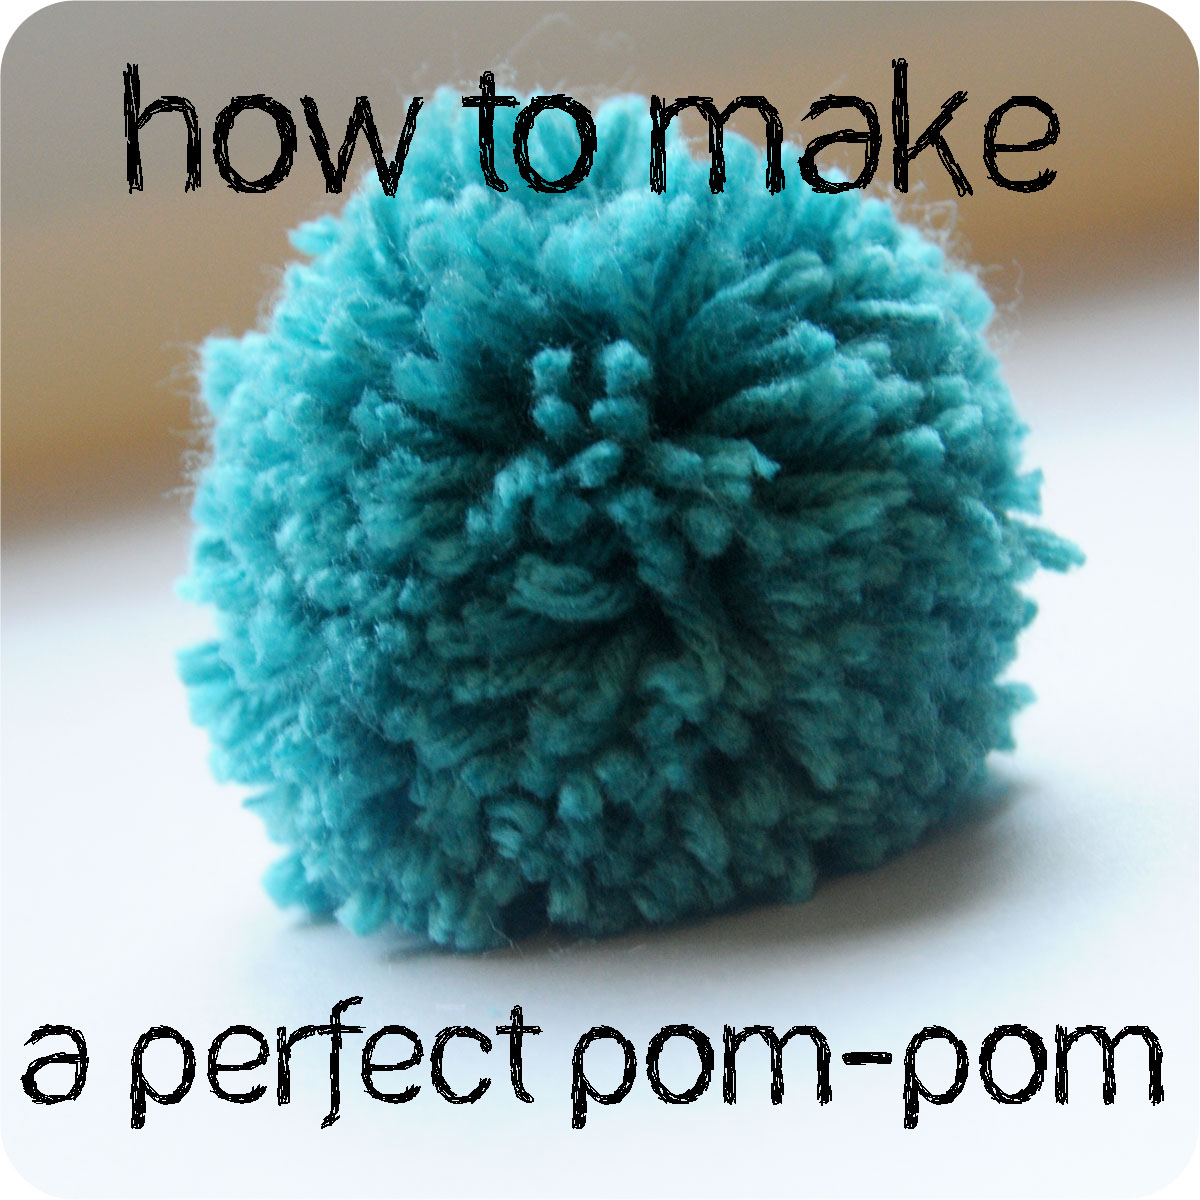
Well, with this method, I guarantee a perfectly round, full pom-pom every time. Let’s get started.
 You need a bunch of yarn (duh!), sharp scissors, a tapestry needle, and two circles with holes in the middle, cut from cardstock.
The circles are your template. 80-100lb cardstock works the best for these for a few reasons:
1. It’s easy to come by. What crafter doesn’t have a ton of white cardstock laying around?
2. It’s the perfect weight. Plain paper tears too easily, and cardboard or chipboard doesn’t tear easily enough.
The size is up to you. It should be slightly larger than you want the diameter of the pom-pom to be. Also make sure the center circle isn’t too small. You need to fit a lot of yarn through there. It should be 1/4-1/3 the diameter of the pom-pom.
I make mine with circle Nesties. Just fold a piece of cardstock in half, position the Nesties with a Post-It note, and run it through the Big Shot.
 And look at that. We’re done with Step 1. If you don’t have Nesties or a Big Shot, plain old pen and scissors works too. Just trace something round. Yogurt containers or plastic cups work well for basic 2-3 inch pom-poms. CDs are a great size for giant ones (which I love putting on toddler hats).
 The last bit of prep before we get to work is to cut the yarn into manageable lengths. We’re threading this through that little circle, so using one length of yarn will take forever, and will almost definitely result in annoying tangles. You don’t have to worry about making them all equal. I usually just cut every 2 arm-lengths or so. As for how much, you never really know until you’re getting toward the end. Start with 5 or 6 lengths, and you can always cut more.

And here we go. Put your circles together (it’s important to use both), leave tail a couple inches long when you start, and just wrap your yarn around and around the template. You’ll notice here that I’m wrapping 2 pieces of yarn at a time. You can do this for the first few lengths just to make things go faster. But eventually,
 that hole starts to close up and you need to reduce to 1 piece of yarn. A tapestry needle or crochet hook really comes in handy toward the end.
How do you know you’re done? Typically I just go until I feel like I can’t fit any more yarn. From the last piece, I cut off about 6-8 inches to tie the middle.

Once you’re satisfied that you can’t wrap any more yarn, pick a spot to pull some of the yarn apart and expose the template. You want to separate the two pieces of the template as well.

Now wedge your scissors in between the two pieces of the template and cut all the way around. You can see the template will get a little ragged, but that’s okay. These aren’t meant to be re-used.

Leaving the template where it is, take that 6 inches of yarn you held aside and tie a tight square knot in between the two sides.
 And now, when you tear away the template.
 You’re left with this mess. Trim up all those little tails, and voila! If you’re attaching this to a hat, make sure to leave 2 tails long so you can tie it. Otherwise, off they go!

See how much fun that was? It works every time.
I hope you found this little tutorial useful. If you did, please do me a huge favor and Pin this post.
Comments 40
Hmm it looks like your blog ate my first comment (it was extremely long) so I guess I’ll just sum it up what I submitted
and say, I’m thoroughly enjoying your blog.
I too am an aspiring blog blogger but I’m still new
to everything. Do you have any points for beginner blog
writers? I’d certainly appreciate it.
always i used to read smaller posts which also clear their motive,
and that is also happening with this article which I am reading
at this time.
My programmer is trying to persuade me to move to .net from PHP.
I have always disliked the idea because of the expenses.
But he’s tryiong none the less. I’ve been using Movable-type
on a number of websites for about a year and am nervous about switching to another platform.
I have heard great things about blogengine.net.
Is there a way I can transfer all my wordpress posts into it?
Any help would be really appreciated!
you’re really a just right webmaster. The site loading pace is incredible.
It seems that you are doing any unique trick. In addition, The contents are masterwork.
you have done a excellent job on this subject!
I have learn several good stuff here. Certainly value
bookmarking for revisiting. I wonder how so much effort you put to create this sort of excellent informative website.
Way cool! Some extremely valid points! I appreciate you penning this post plus the rest of the
website is also really good.
Greetings! Quick question that’s entirely
off topic. Do you know how to make your site mobile friendly?
My web site looks weird when viewing from my iphone 4.
I’m trying to find a template or plugin that might be able to fix this issue.
If you have any suggestions, please share. Many thanks!
It’s not my first time to go to see this web page, i am browsing this site dailly and take pleasant
information from here daily.
Right here is the perfect website for anybody who hopes to
find out about this topic. You know so much its almost tough to argue with you (not that I personally will need to…HaHa).
You certainly put a brand new spin on a subject which has been written about for a long time.
Excellent stuff, just wonderful!
Great article. I will be going through a few
of these issues as well..
Hmm it looks like your website ate my first comment (it was extremely long) so I guess I’ll just
sum it up what I submitted and say, I’m thoroughly enjoying your blog.
I as well am an aspiring blog writer but I’m still new to everything.
Do you have any tips and hints for novice
blog writers? I’d definitely appreciate it.
Hello, I log on to your new stuff daily. Your humoristic style is awesome, keep doing
what you’re doing!
Ahaa, its pleasant discussion about this post here at this webpage, I have read all that, so now
me also commenting at this place.
Wonderful article! We will be linking to this great article on our site.
Keep up the great writing.
Helpful info. Fortunate me I found your web site unintentionally, and I am surprised why this
coincidence didn’t took place in advance! I bookmarked it.
Hey very nice blog!
I would like to thank you for the efforts you have put in penning this website.
I am hoping to check out the same high-grade content by you in the future as well.
In truth, your creative writing abilities has encouraged
me to get my very own site now ;)
Good site you have here.. It’s difficult to find quality writing
like yours nowadays. I truly appreciate people
like you! Take care!!
I just like the valuable information you provide on your articles.
I’ll bookmark your weblog and test again here regularly. I’m relatively sure I’ll be informed many
new stuff right here! Best of luck for the following!
I visit every day some websites and websites to read posts, but this
web site offers quality based articles.
Hello, just wanted to say, I liked this article.
It was practical. Keep on posting!
What’s up to all, the contents present at this web site are in fact awesome
for people experience, well, keep up the good work fellows.
Every weekend i used to pay a visit this web page, as i wish for enjoyment, as this this web
page conations genuinely fastidious funny information too.
Hey There. I found your blog the use of msn. This is an extremely
smartly written article. I will make sure to bookmark it and
come back to learn extra of your helpful info.
Thanks for the post. I will definitely return.
Its not my first time to pay a visit this website, i am browsing this web page dailly and take nice facts from
here all the time.
Very energetic blog, I enjoyed that bit. Will there be a part 2?
Great blog! Do you have any helpful hints for aspiring writers?
I’m hoping to start my own website soon but
I’m a little lost on everything. Would you propose starting with a
free platform like WordPress or go for a paid option? There are so many
options out there that I’m completely overwhelmed .. Any suggestions?
Cheers!
Hi! Do you know if they make any plugins to protect against hackers?
I’m kinda paranoid about losing everything I’ve worked hard on. Any tips?
What i do not understood is in reality how you’re
now not actually much more neatly-liked than you may be right now.
You are very intelligent. You recognize therefore considerably in relation to this topic,
produced me in my opinion imagine it from numerous various angles.
Its like men and women are not fascinated except it’s one thing to accomplish with
Girl gaga! Your own stuffs outstanding. Always care for it
up!
Spot on with this write-up, I actually feel this site needs
a great deal more attention. I’ll probably be back again to read through more, thanks for
the information!
Very good information. Lucky me I came across your site by chance (stumbleupon).
I have book marked it for later!
Hi there! I know this is kinda off topic but I was wondering if you knew where I could
find a captcha plugin for my comment form?
I’m using the same blog platform as yours and I’m having difficulty finding one?
Thanks a lot!
Yes! Finally someone writes about porn.
My partner and I stumbled over here different web page and
thought I should check things out. I like what I see so now
i am following you. Look forward to checking out your web
page repeatedly.
Hi to all, since I am really eager of reading this weblog’s post to be updated daily.
It carries fastidious material.
It’s difficult to find knowledgeable people in this particular topic, however, you seem like
you know what you’re talking about! Thanks
Remarkable issues here. I’m very happy to look your
post. Thanks so much and I am taking a look forward to touch you.
Will you please drop me a mail?
I used to be able to find good advice from your blog posts.
Definitely believe that which you stated. Your favourite
justification appeared to be at the net the easiest thing to remember of.
I say to you, I certainly get irked while folks think
about concerns that they just do not recognise about.
You controlled to hit the nail upon the top and also outlined out the whole thing with no need side-effects , people could take a signal.
Will probably be again to get more. Thanks
It’s very straightforward to find out any topic on web as compared to textbooks, as
I found this piece of writing at this site.