

I think we’ve officially hit the season of festive holiday wear. This is not a particularly good season. Why is it that Halloween, Thanksgiving, and Christmas shirts only seem to come as boxy sweatshirts emblazoned with huge cutesy designs that are only appropriate for toddlers or senior citizens?
This is a big problem for me, because sometimes I like to acknowledge that Halloween is happening without donning an elaborate costume, but I also don’t necessarily want appliquéd pumpkins dancing across my midsection. What’s a girl to do? DIY, of course.
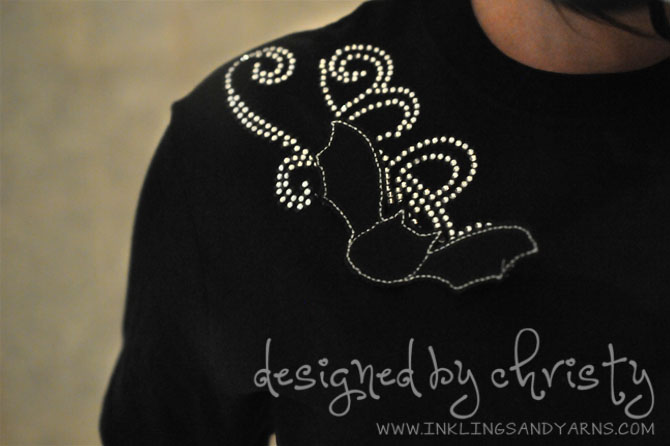
I won’t exactly say it’s subtle, because rhinestones. But I’m still totally willing to wear it in public.

To make it, I started with a basic downloadable image from the Silhouette Online Store, and then I hacked it to fit my needs. The process is a little tough to explain in screenshots, so I made a video.
You can tell I was a film major because it ends on a cliffhanger. We are now ready to cut! WHAT HAPPENS NEXT??
It’s quite simple really. You load your Silhouette Rhinestone Template Material (it looks like a sheet of thin black velour mounted on white card stock) onto your cutting mat and into the machine. Open the Cut menu and select “Rhinestone Template Material,” adjust your blade to the proper thickness (6), then cross your fingers and hit cut. Crossing your fingers is a really important step (not really, but I still always do it).
Cutting takes quite a bit of time. The machine has to double cut all those little circles. As you watch, you will think nothing’s happening. It’s very hard to see the cut lines on black velour. Trust me, it’s working.
When it finishes cutting, peel the template fabric away from the white backing (it has a sticky back), and mount it on the stiff white chipboard that came with your kit. If the Silhouette cut flawlessly, and you peel quickly and evenly, all of the little circles should remain on the backing, and your template will be nice and clean. But seriously, the chances of this step working perfectly are almost nil. Never fear, though. Just grab a pair of fine-point tweezers and pull away any hanging chads before you mount the template.
I apparently did a terrible job of photographing all of this. Sorry. Here’s what it should look like finished, though.
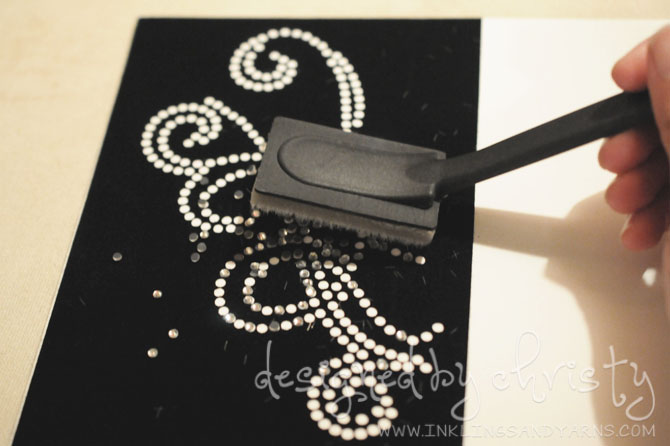
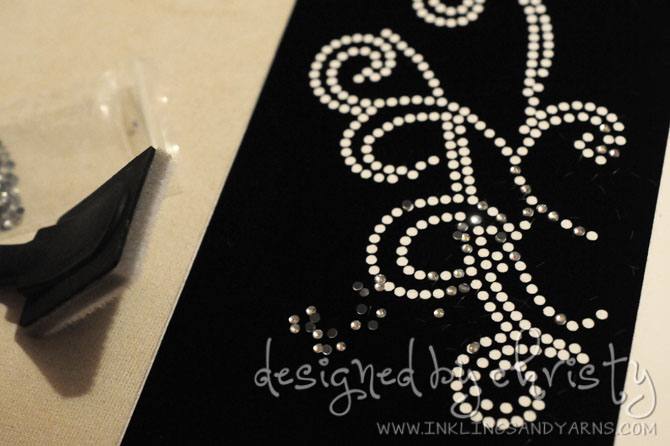 Now you’re ready to pour the rhinestones. This is both the easiest and hardest part of the process. Just dump the rhinestones on the template, and use the included tool to brush them around until they all find spots in the pattern. Be careful not to bump the template, and understand that you will need to use tweezers and or the sticky grabber tool (aka the Pick-Me-Up) to place the last several jewels.
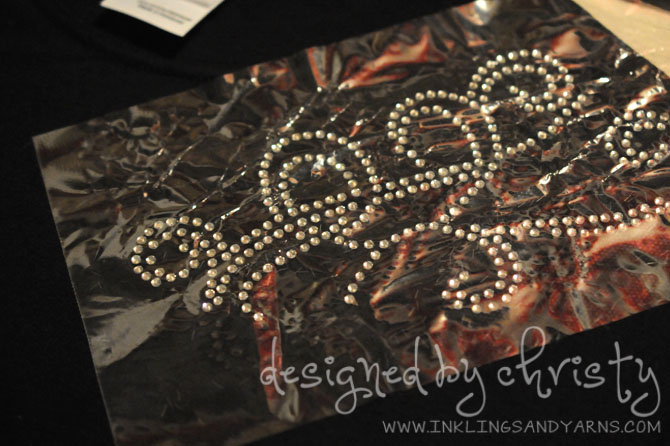
Now you’re ready to place your rhinestones. Cut a piece of the transfer tape to fit your pattern. Press it gently and evenly onto the rhinestones, and then carefully lift the design and place it on your shirt. Place a thin scrap of fabric over the whole thing, and with your iron set to its highest non-steam setting, press for a good 45 seconds. Once pressed, start slowly peeling the transfer tape away, replacing and re-pressing any time you find a jewel that doesn’t stay down.
Once the transfer tape is completely peeled away, press directly on top of the rhinestones for another 10-20 seconds. Finally, flip the shirt inside out and press on the opposite side of the rhinestones. This will draw the adhesive into the fabric, helping the jewels stick. You should see a ghosted image of your design on the wrong side of the fabric when the adhesive draws through.
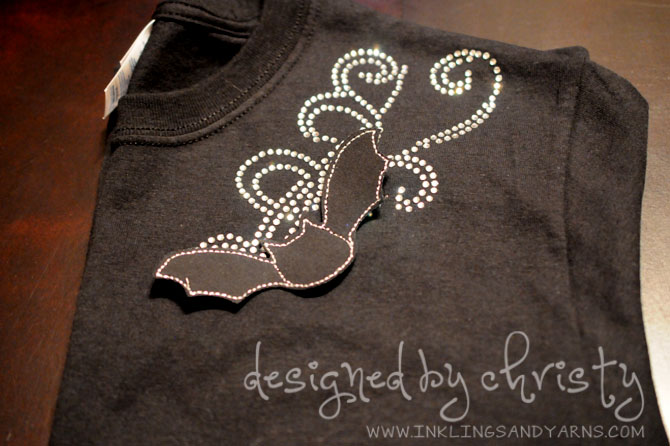
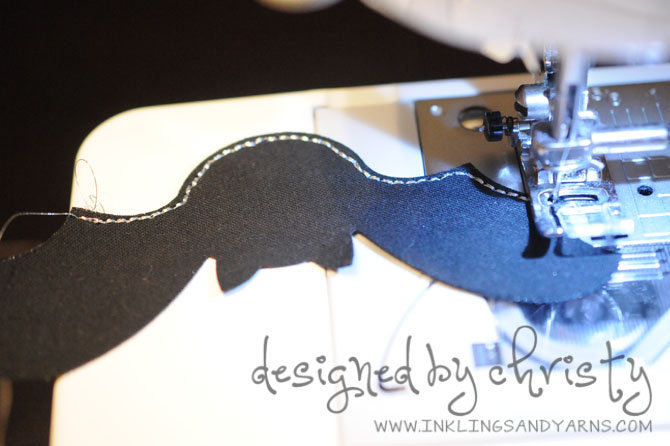
That’s it! You’ve successfully created a rhinestone-embellished t-shirt. To finish this project, I went back to the original cut file and cut 2 bats from black cotton fabric pressed with Steam-a-Seam. I then pressed those together (wrong side to wrong side) and top-stitched with metallic silver thread. I attached the bat to the shirt, and voila.
If you’re still in need of a festive, but (fairly) low key outfit for Halloween, I guarantee that as long as you have all the materials, you can complete this project by Thursday evening. Happy Halloween and happy crafting!
I hope you enjoyed this tutorial. If you found it helpful, please do me a favor and pin this post and subscribe to my YouTube channel.