

Last week I posted a quick roundup of ways to decorate easter eggs. As promised, I tried a few of the methods myself, and will review them here.

photo by kygl.com
Grade: D
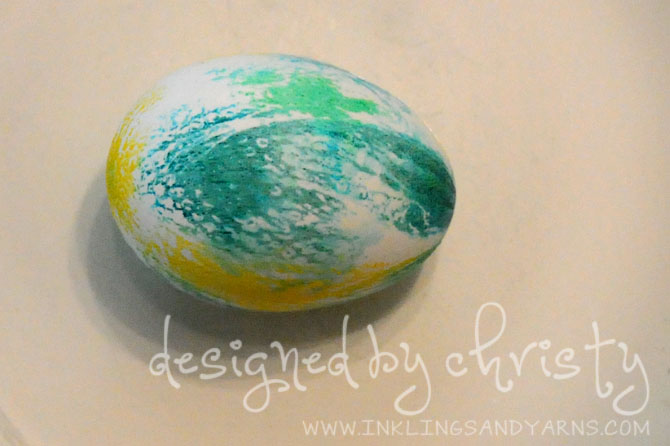
This was the technique I was most excited to try. It seemed so delightfully messy, and the picture was so pretty with the swirls of color. But I learned quickly that there was a reason there was no accompanying picture of a finished egg.
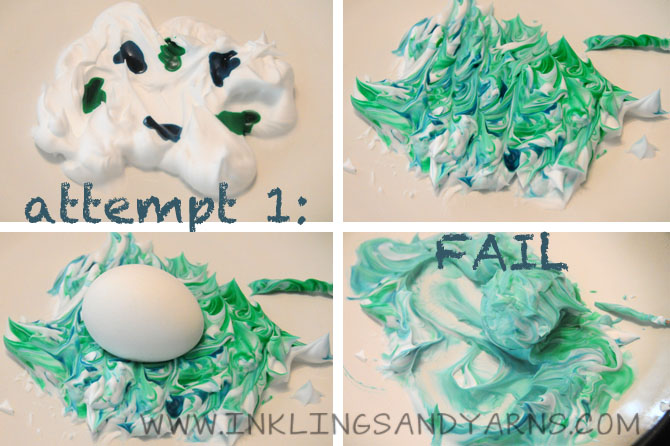
I followed the instructions, spraying about a half-cup of foam on a plate, dripping food coloring on it, and then swirling it together with a toothpick. I then rolled my egg around in it and let it sit for about 10 minutes.
But when I wiped the shaving cream off, the color disappointingly weak. The egg above wasn’t even worth photographing once it was finished. I tried again, this time spooning the shaving cream over the egg rather than rolling it around. I managed to get some color on this one, but was still unhappy with how pale it ended up.
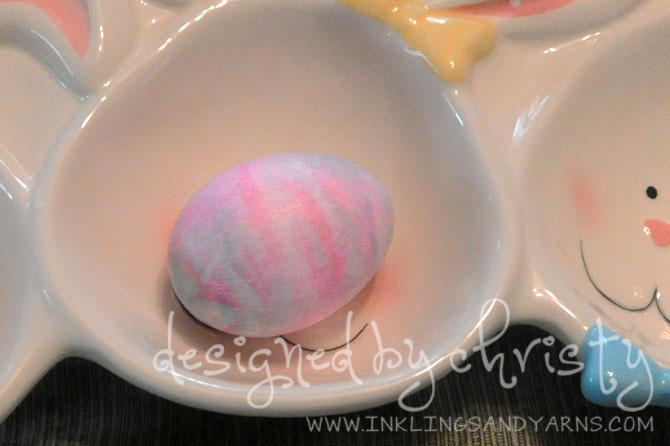
Determined to make this work, I tried it again with much less shaving cream (about a tablespoon). The result looked like it was going to be much more vibrant.
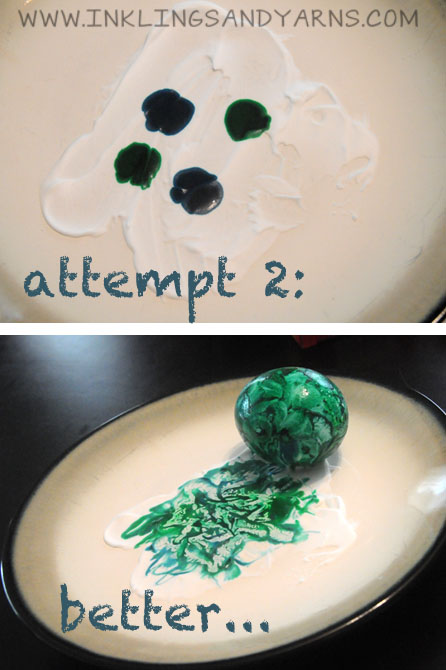
But again, when I wiped the shaving cream away after about 10 minutes, almost all of the variance in color faded, and I was left with an egg that looked no better than if I’d dipped it in PAAS.
Hardly worth the effort. And it has to be noted that this method is MESSY. You know how much I love messy crafts, but I still have blue dye on my fingers, and there was shaving cream everywhere. Only the bravest of parents should attempt this one with children.

photo by spoonforkbacon
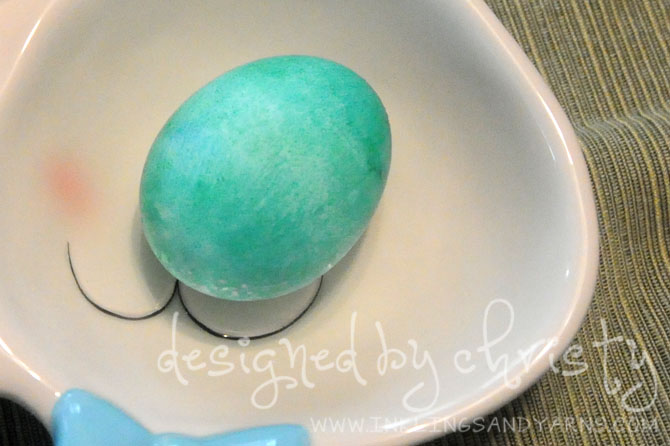
Grade: B+
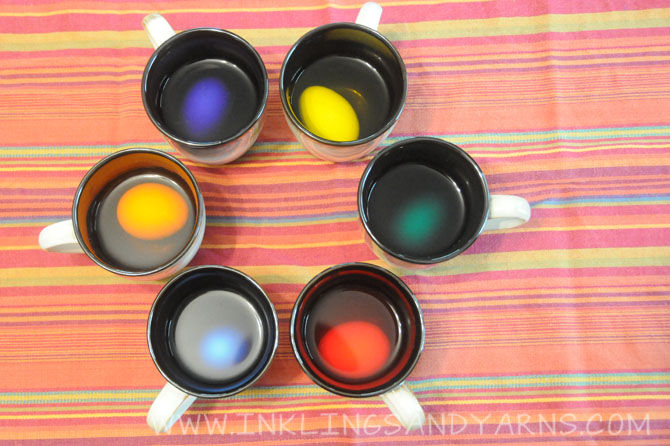
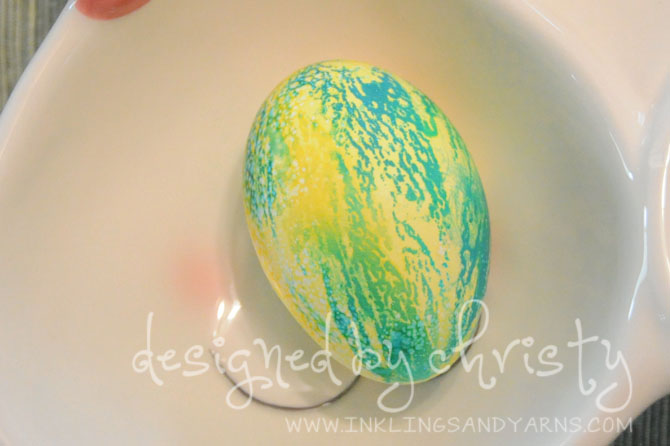
I like this one well enough. It’s easy and results in pretty cool looking eggs. All you need is a spoon and your favorite dip dyes.
The colors on mine didn’t turn out nearly as vibrant as the ones in the original post I linked, but I’m willing to assume this has more to do with the dye I used than the technique.
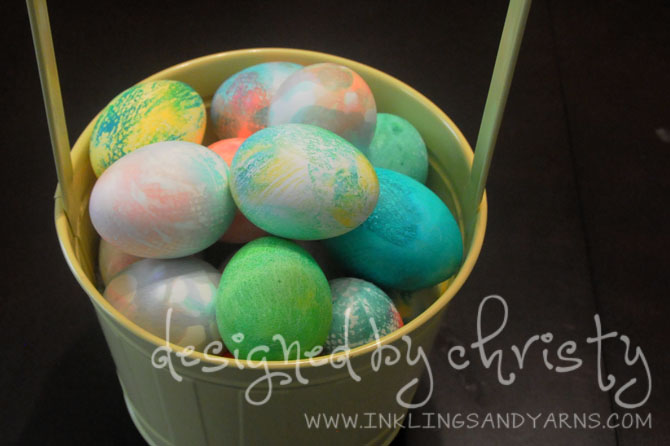
The Paper Towel Tie-Dye Method

photo by bug.com
Grade: A
By far my favorite of the three. I lightly dampened a paper towel with water–note that the tutorial recommends white vinegar, which I didn’t have on hand. Following the instructions would have resulted in much more vibrantly colored eggs.
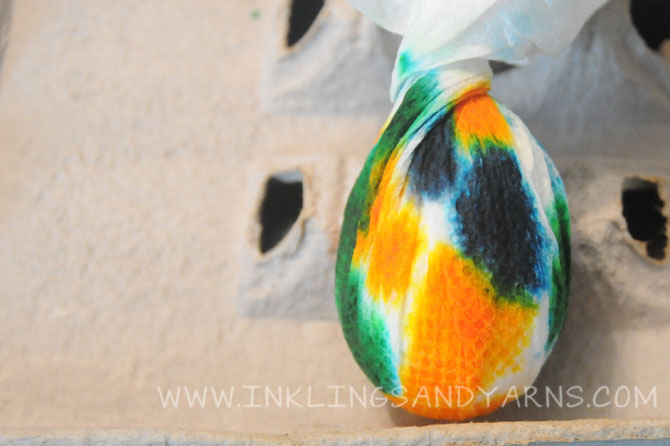
Then I wrapped the towel around the egg, dripped food coloring all over, and let it sit for several minutes. The nice thing about this method is that you can use the same paper towel for 2 or 3 eggs.
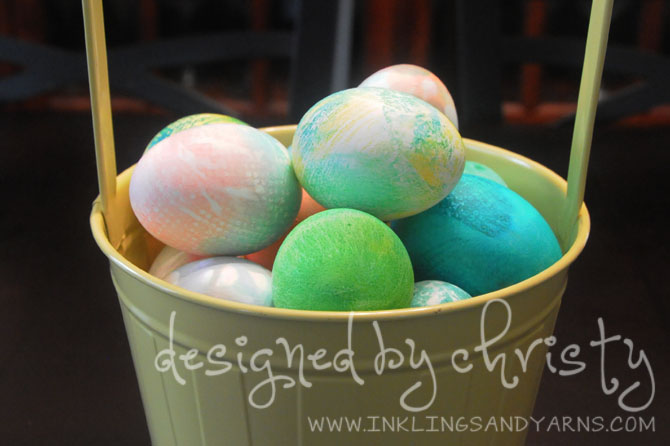
 The texture of the paper towel creates a really neat pattern. I found that dip-dying the eggs first gave them an extra pop.
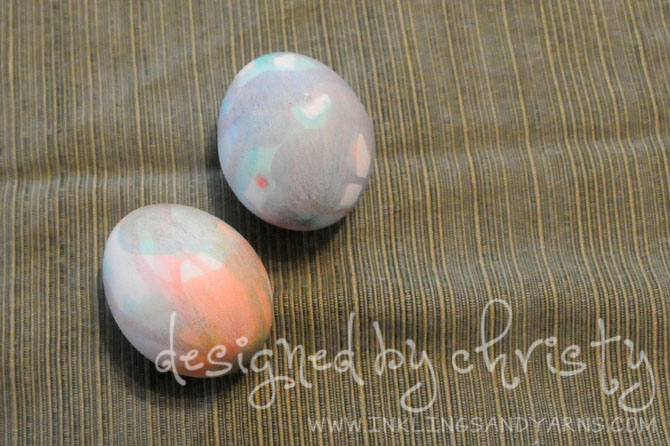
As you can see from the picture below, this method ended up basically becoming my go-to, and I’m sure I’ll use it for years to come.
So that was {part of} my weekend adventure. I’ll be sure to post pictures of Allie in her Easter finery tomorrow.