I don’t know about you, but to me there’s nothing more fun than sitting down in front of a table full of Tim Holtz products and just…creating. Of course, the final result never comes out quite as well as the master’s, but the fun is in the process.
On Monday, I set about recreating a couple of his designs (with my own twists, of course).
The first is the ever popular Sewing Room die with the Bird Cage skirt.
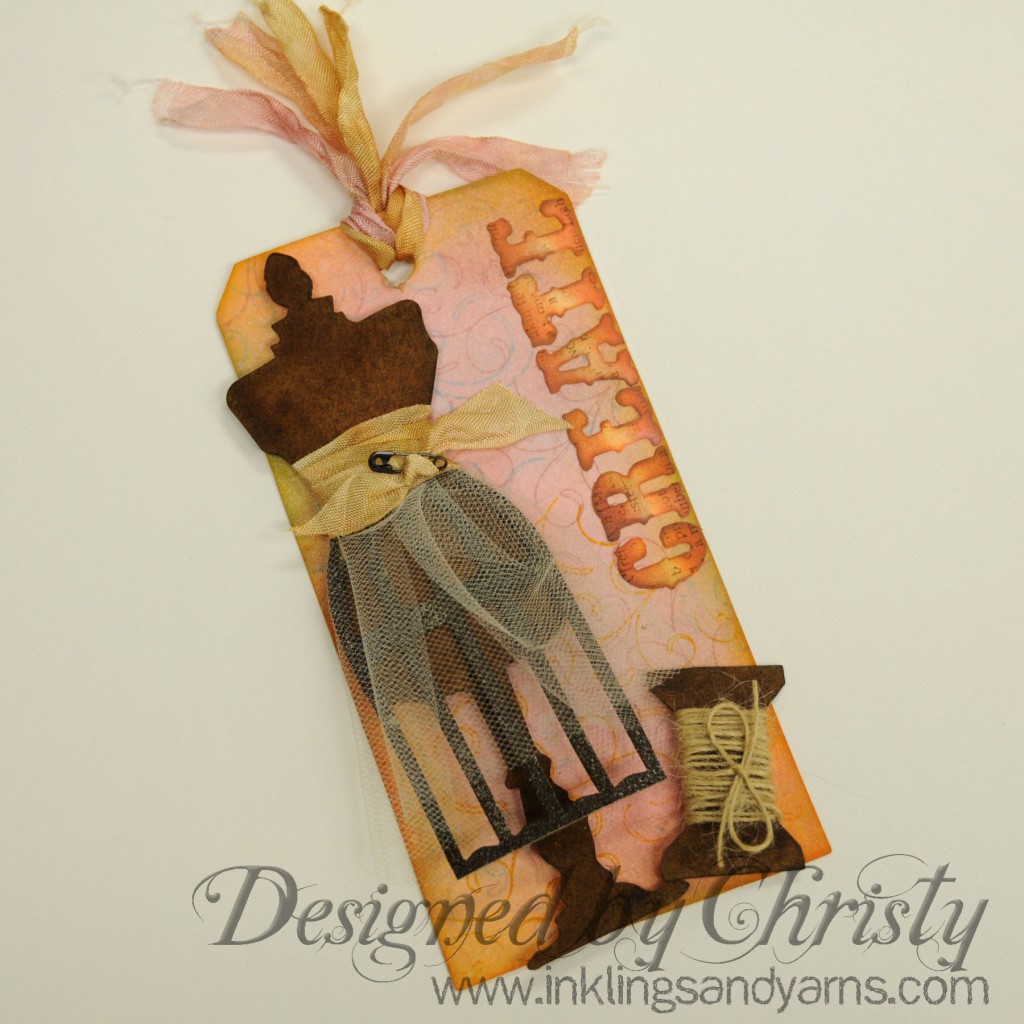 I combined Distress Stains with Distress Inks to get the deep, rich color on the spool and dress form. The birdcage was colored first with a silver paint dabber, then with Distress Ink, and then it got a layer of Distress Embossing Powder to deepen the color and add texture.
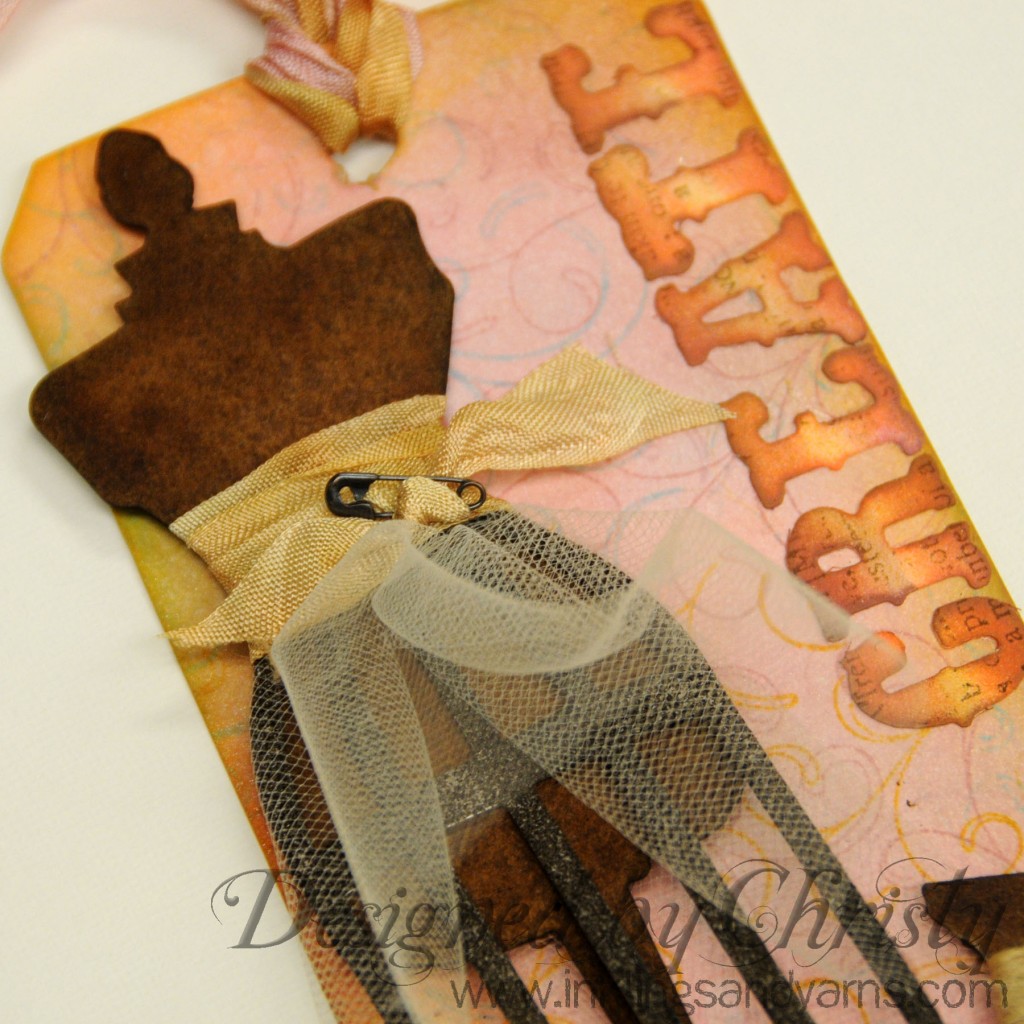 The background was done by stamping a Hero Arts background multiple times in different colors, and lots of inking with Distress Ink. The “Create” title was done the same way in slightly darker colors to add contrast.
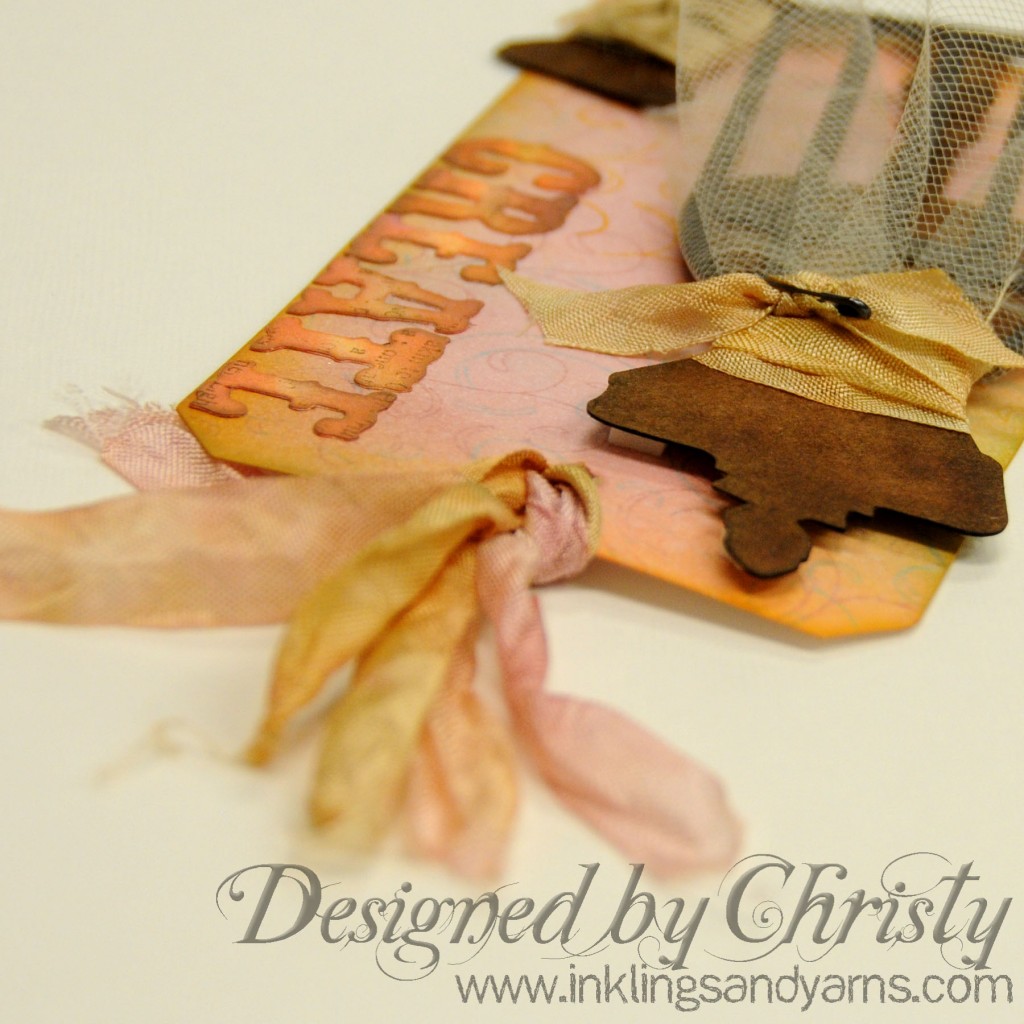 I dyed the ribbon (plain white seam binding) with Distress Ink and water to finish off the look.
Next I used Mini Movers and Shapers to make this butterfly ATC.
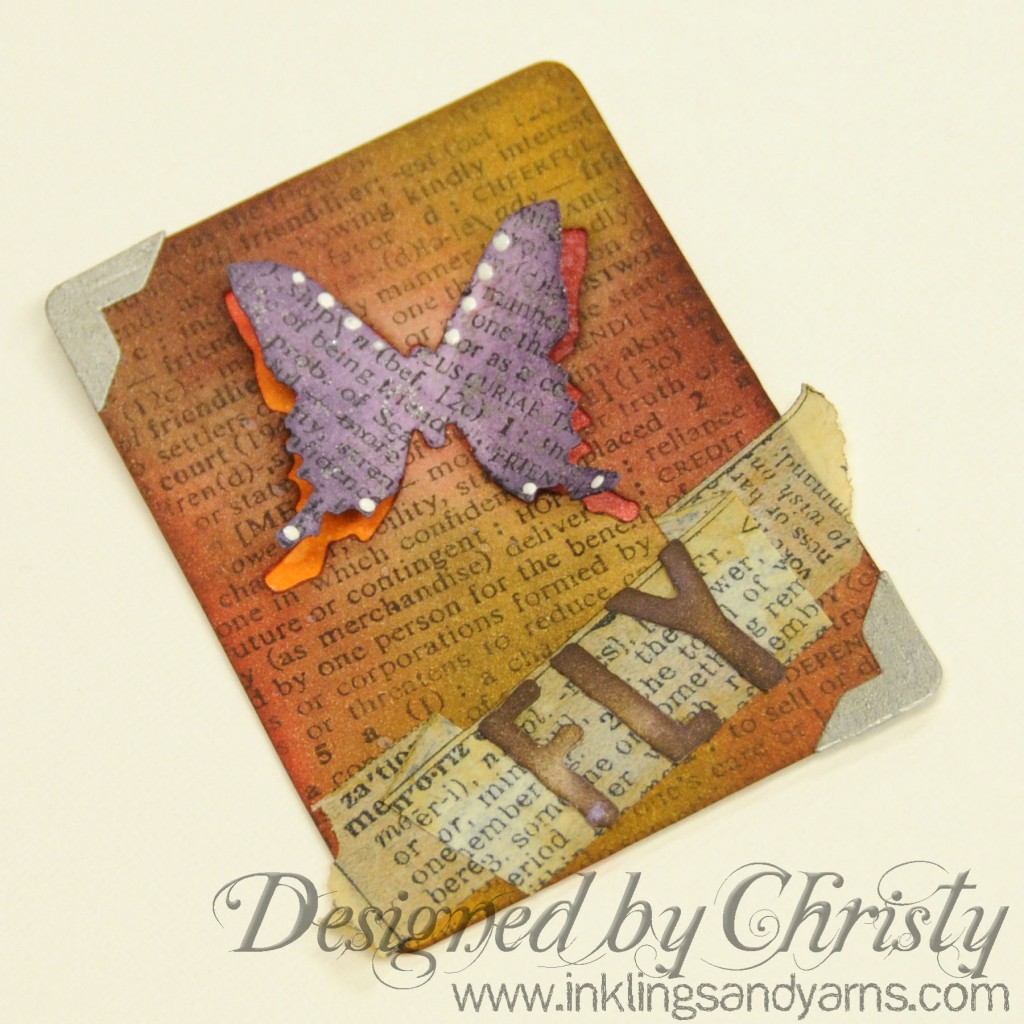 I cut 2 ATC cards, one whole and one with the butterfly cut out. Then I inked them both in reds and oranges. I then darkened the top one with some Brushed Corduroy and Walnut Stain, and finished it with a Hero Arts Background.
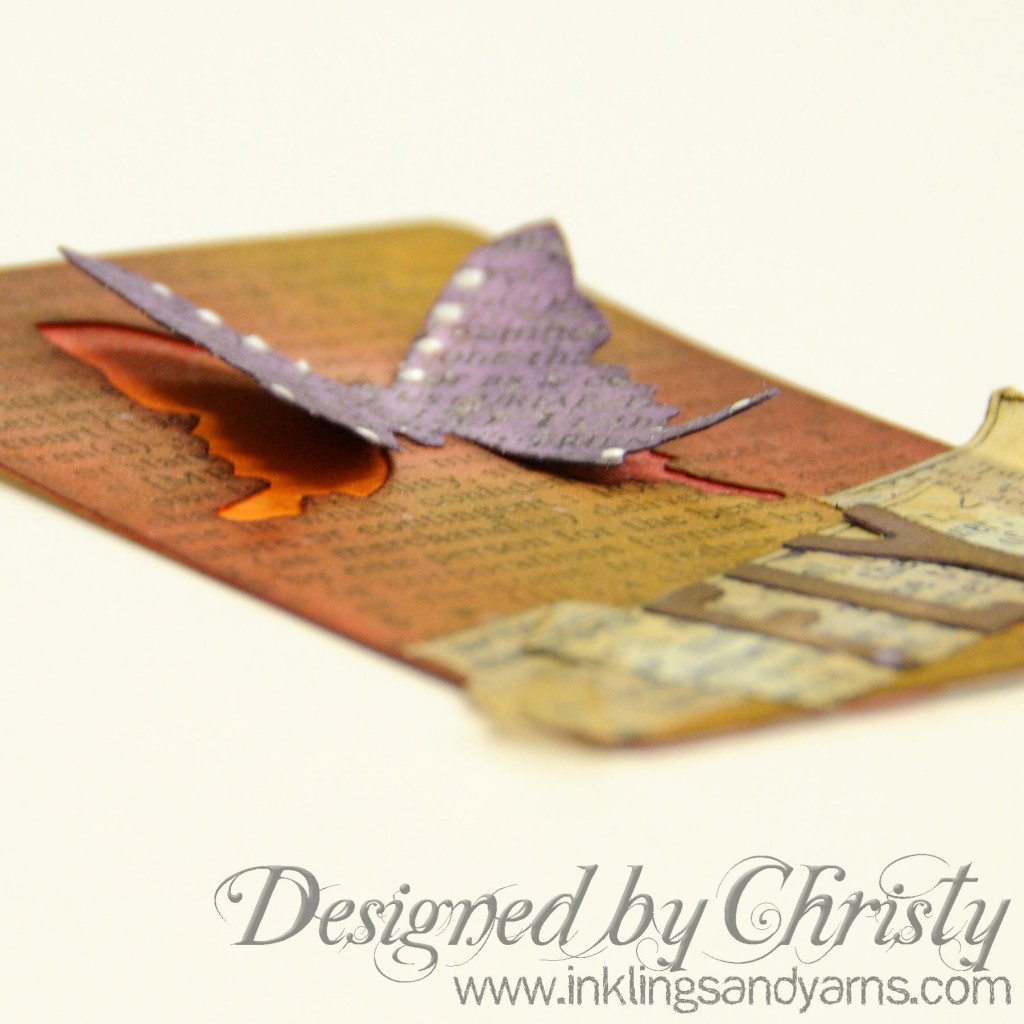 The butterfly is colored with Dusty Concord and the same background stamp. I added a couple of Enamel Accents details just for fun.
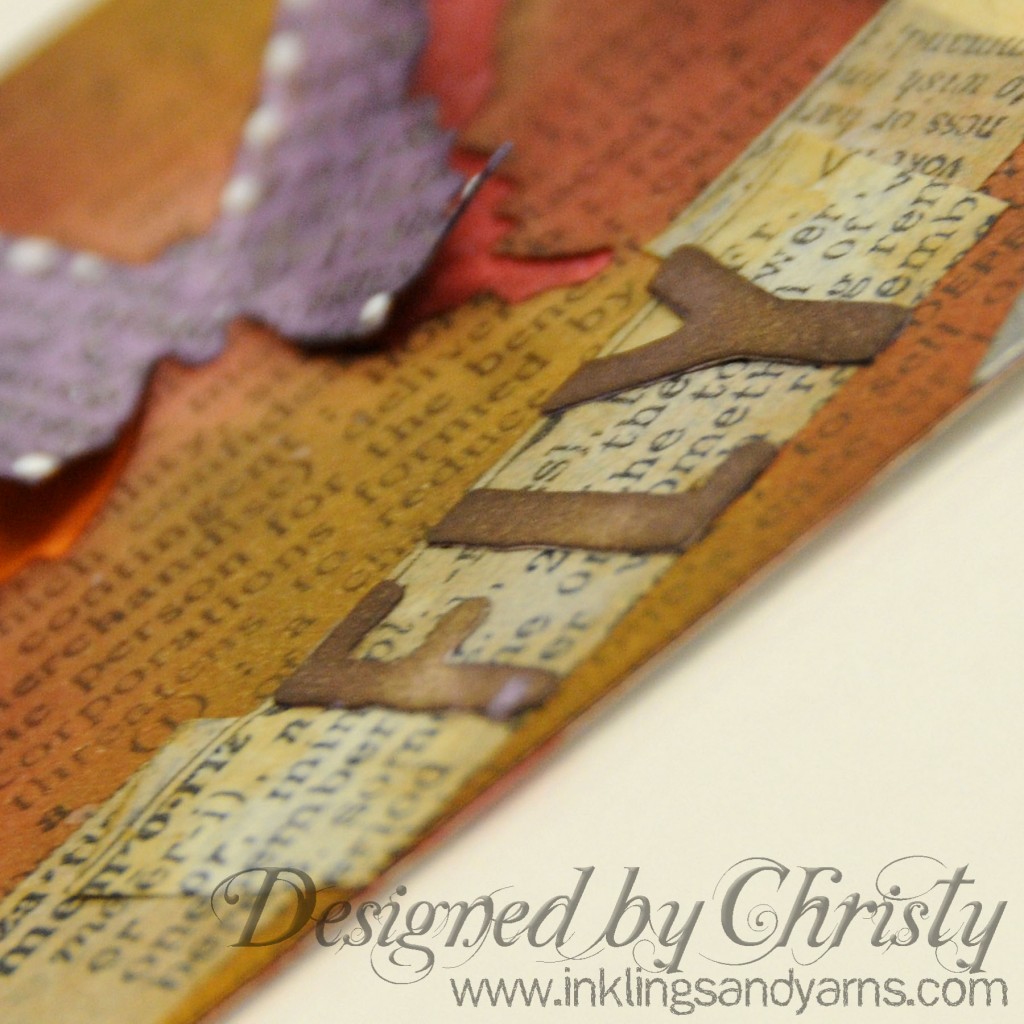 The banner is a piece of Tissue Tape. I colored the edges with a light brown Copic to age it a little, and colored the die cut letters with Dusty Concord and Walnut Stain. The corners are painted with the silver paint dabber.
Finally, I went off in my own direction for the second ATC. The lock and key are from the Hardware Findings die, colored with a gold paint dabber. I wanted to add some more texture to this, but didn’t have the right shade of distress embossing powder. I’ll have to do some more experimenting to get it right.
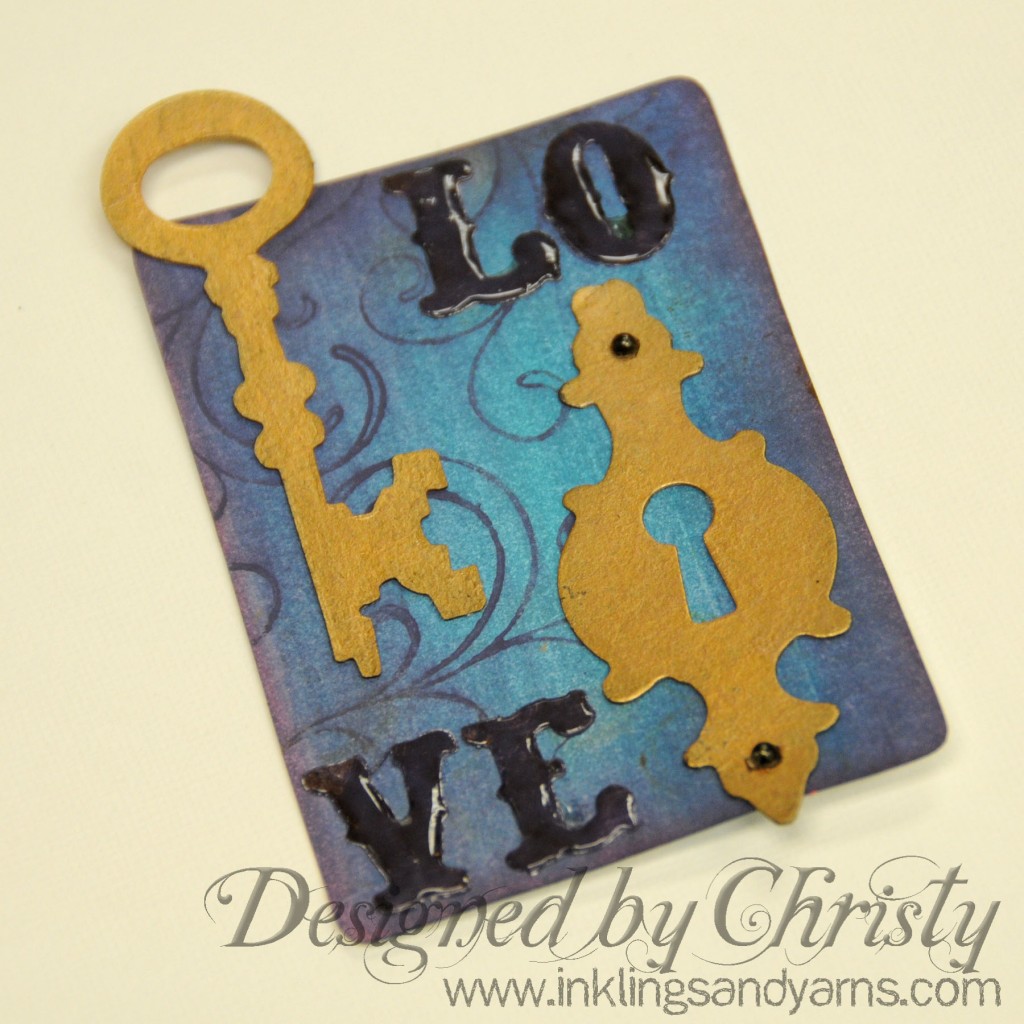 The background was made with Distress Stain, Distress Ink, and a paint dabber. Because why stick to one product when you can use three, right?
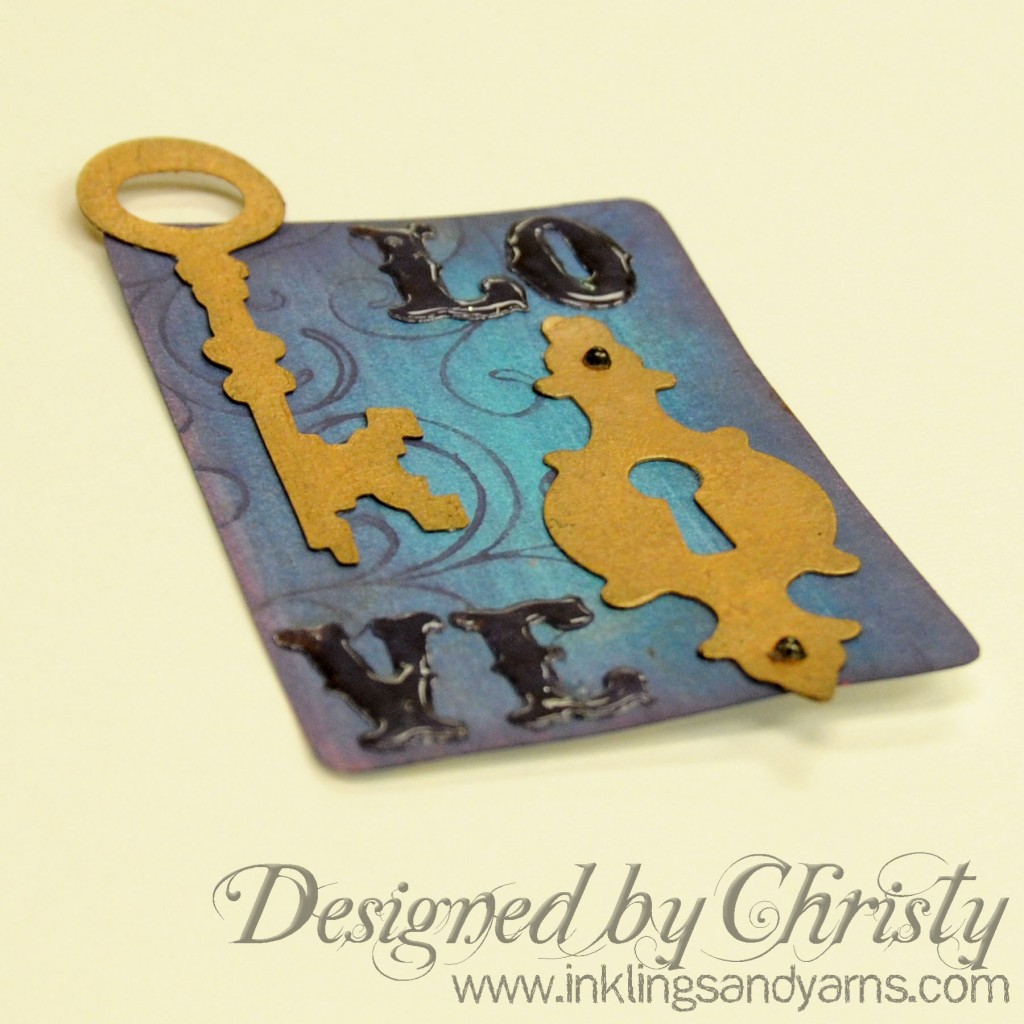 I didn’t like the lack of contrast between the letters and the background, so I used Glossy Accents to give them a little pop and shine.
If you happen to be in the Bay Area, you can come in to MLO anytime from 1-6 this Saturday to learn these techniques and make all three of these pieces for the bargain price of $5. You can’t beat that, can you?
And if you’re not in the Bay Area, you still have until Midnight tonight to comment on this post for a chance to win Spica Pens, and until Midnight on May 31 to follow the directions on this post for a chance to win all kinds of goodies!

